
Get started
Get started with the Heyzack CRM
Sign in, explore the dashboard, create your first installation, add a lead, and set up your team — everything you need to hit the ground running.
This guide walks you through the essential steps to get your team up and running on the Heyzack CRM. By the end, you'll have signed in, created your first installation, added a lead, and set up at least one team member — giving you a working foundation for your day-to-day operations.
Sign in
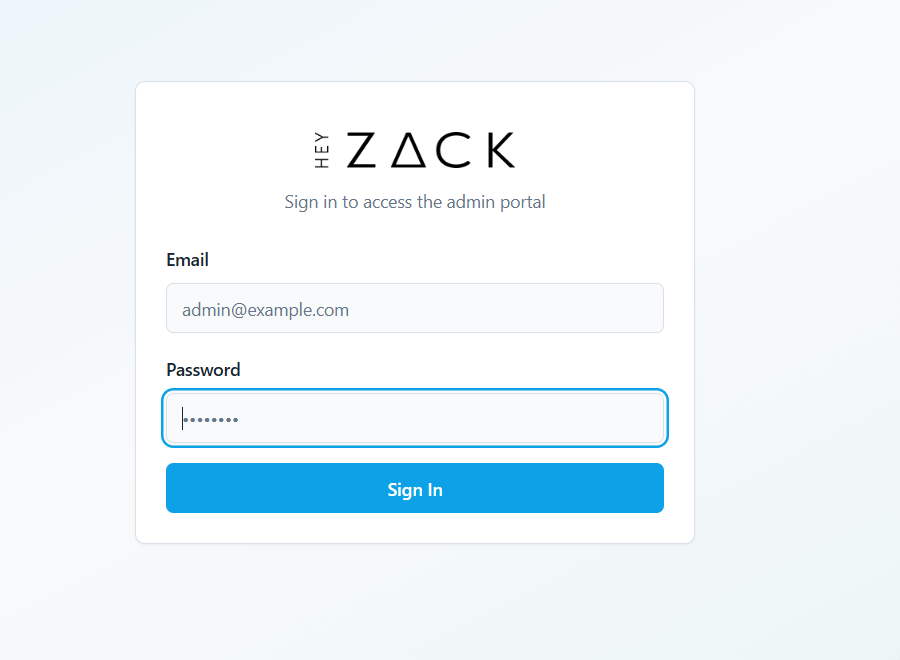
Navigate to the CRM login page. Enter your email address and password, then click Sign in.
Tip
If you don't have credentials yet, ask your admin to create an account for you in Settings → Create User.
Explore the dashboard
After signing in, you land on the dashboard. This is your at-a-glance overview of the business. It displays four key stats:
- Total sales — cumulative revenue across all orders
- New leads — leads created within the current period
- Active installations — installations currently in progress
- Active partners — partners with recent referral activity
Use the dashboard as your daily starting point before diving into specific sections.
Create your first installation
Go to Installations in the sidebar and click New Installation. Fill in the following details:
- Title — a descriptive name for the job (for example, "Smith Residence — Smart Lock + Thermostat")
- Partner — the partner account associated with this installation
- Handyman — the technician who will complete the work on site
- Scheduled date — the date the installation is planned to take place
Click Save to create the installation. You can update its status and add notes as the job progresses.
Add a lead
Go to Leads in the sidebar and click Create Lead. Fill in the customer's details, including their name, contact information, and any notes about their interest or requirements.
Info
Leads can also be created by partners using their unique referral token. You can track the source of each lead from the leads list view.
Once created, you can qualify the lead, link it to a partner, and eventually convert it to an order.
Set up your team
Go to Settings and click Create User. Enter the new team member's name and email address, then assign them a role — such as Manager, Support, Partner, or Handyman.
The role you choose determines which sections of the portal the user can access. You can adjust these permissions at any time from the user's profile in Settings.
Warning
Only admins can create users and modify role permissions. If you don't see the Settings option, contact your admin.
Note
The portal is available in English and French. To switch languages, use the language dropdown in the sidebar. Your preference is saved automatically.